Home Raspberry Pi Server 
Setting up a Raspberry Pi as a home server
Tools and Skills:
- Docker
- Nginx
- Raspberry Pi
- Linux
- Python
- Flask
So a while back, I decided to try and undertake the Linux Upskill Challenge. I felt an urge to get a stronger understanding using Linux and doing some more of the sysadmin stuff. It was very interesting to me - a lot of stuff I was familiar with yet also many things completely unknown to me.
I had mostly done the challenge on a separate EC2 instance via AWS. But I felt this wasn’t enough. Which led me to getting a Raspberry Pi 5.
Setting Up Server and Config Files
I decided that I wanted to set up a mini server, and possibly use it for other things in the future.
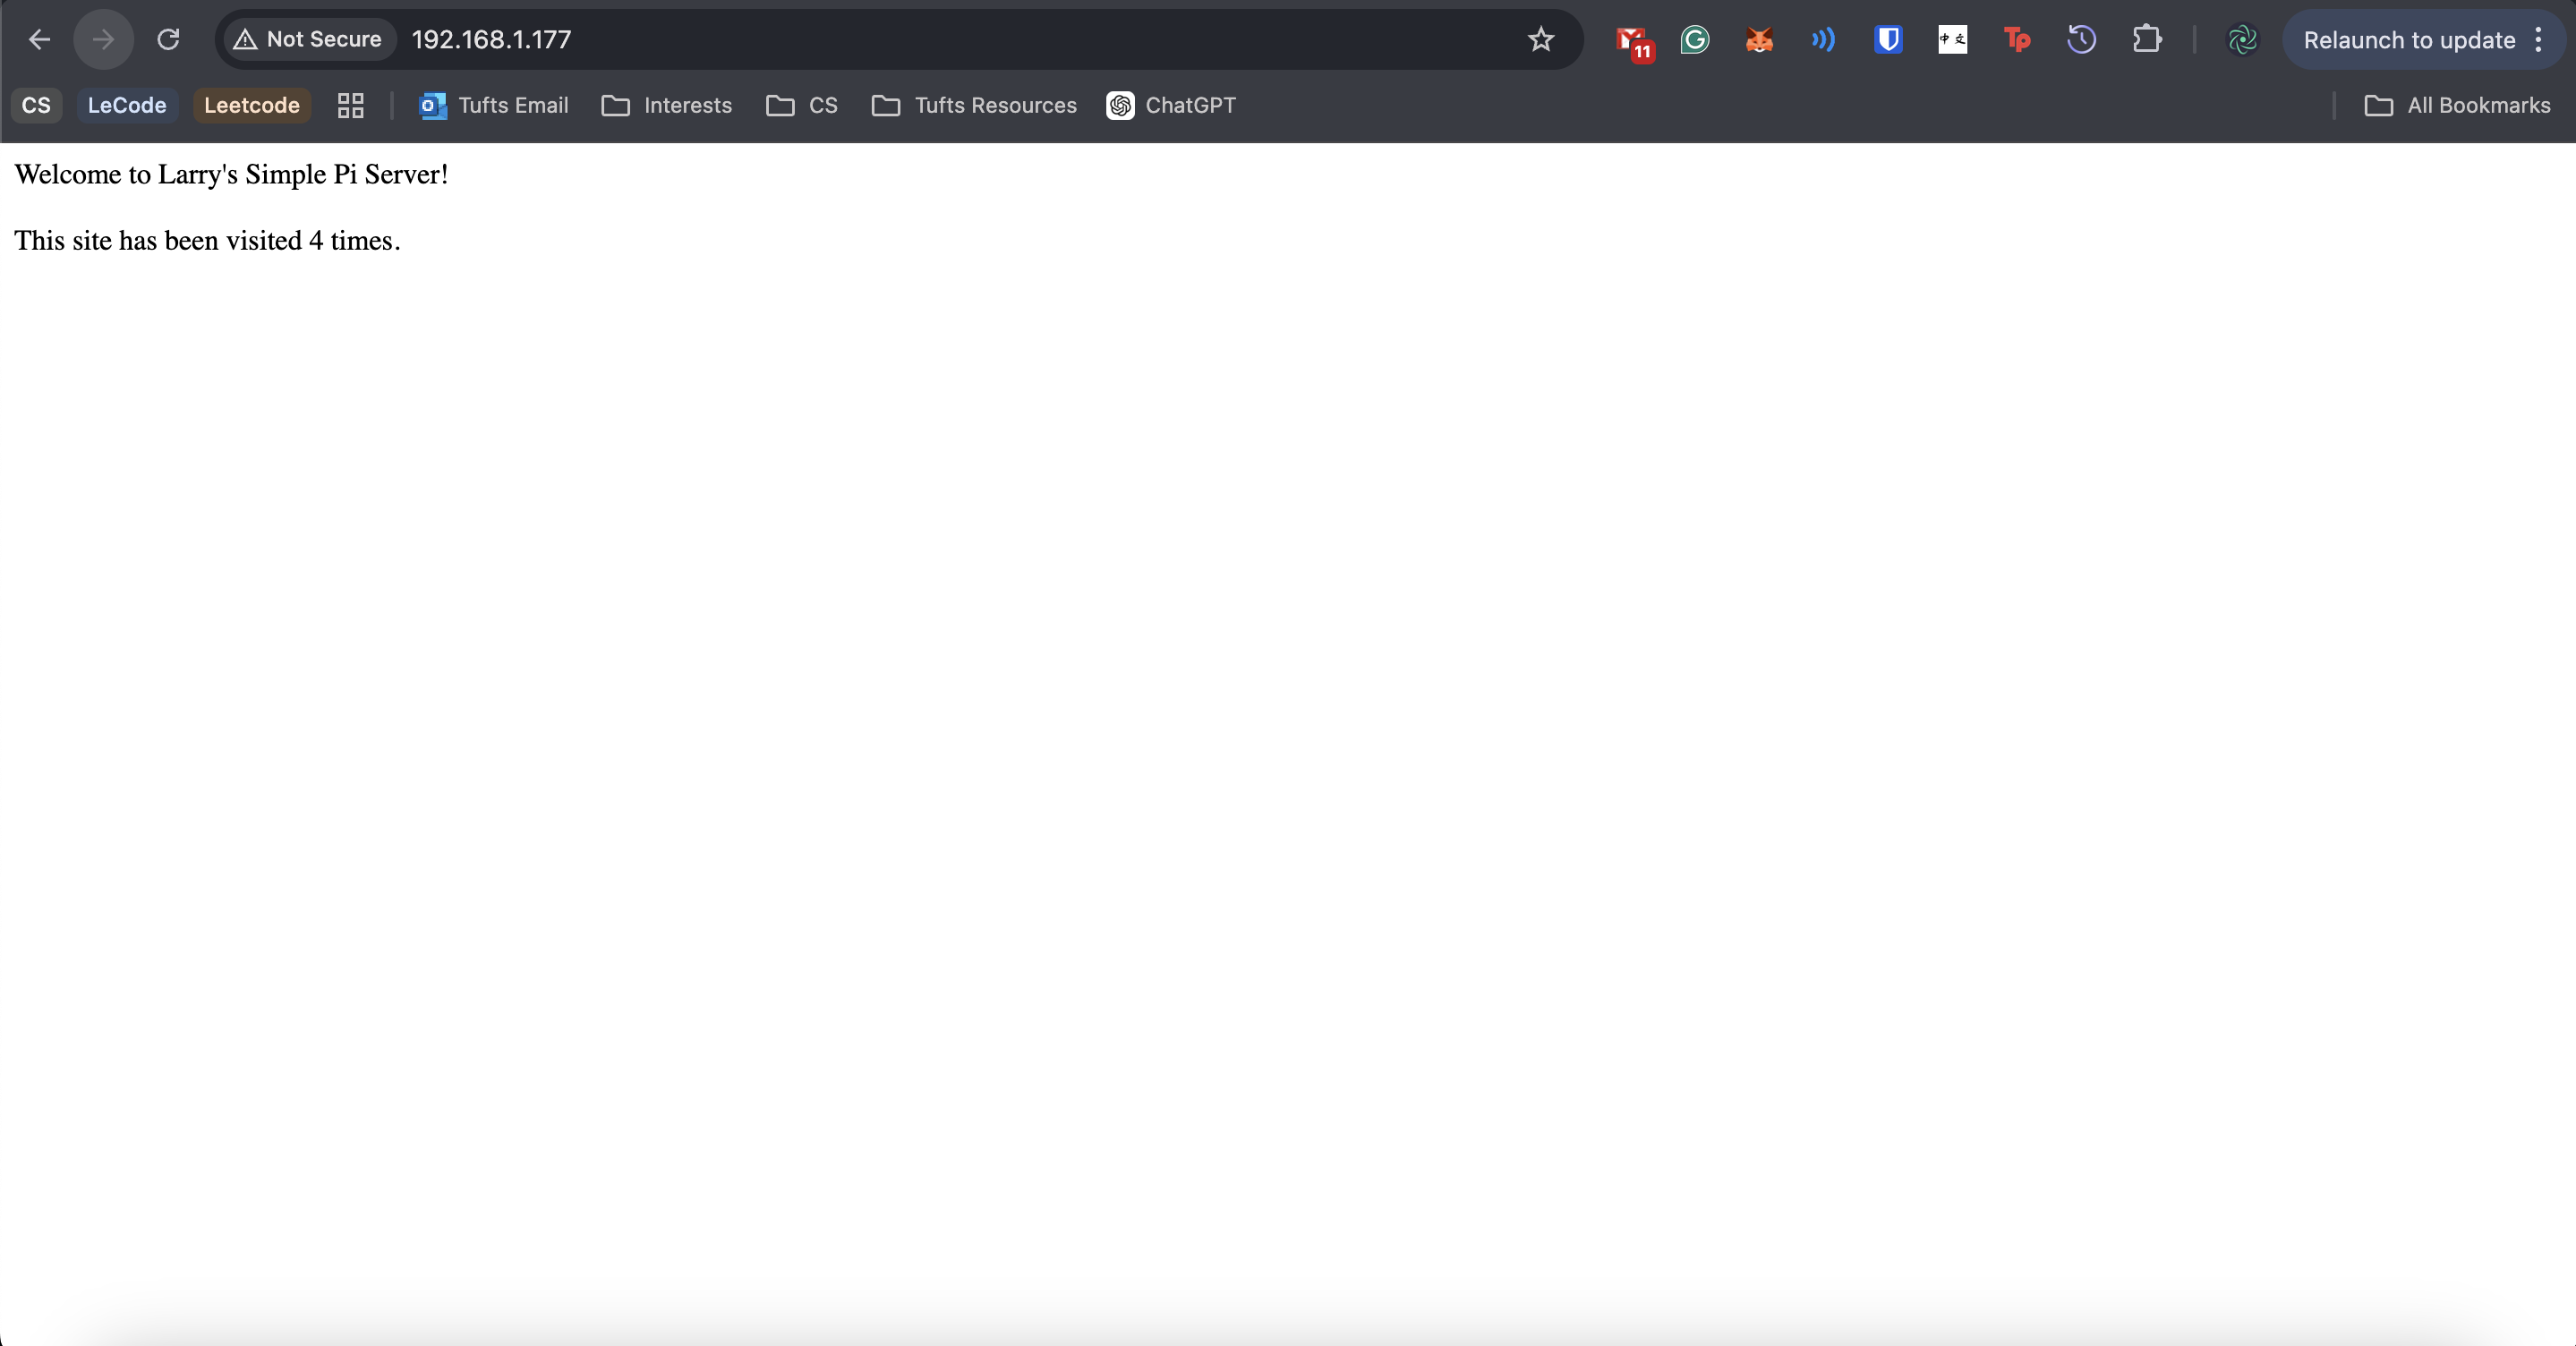
That quickly led me to Docker Compose. This would help run my server and also easily compartmentalize everything. I spun up a very simply Flask server which would simply display the number of times it had been visited.
Theoretically, that could’ve been it. I run the server and devices can access it via the port directly. But I wanted to replicate something more realistic and clean. And also give future modularity for other potential routes/services that I might want to add, like a file browser. So next was the Nginx reverse proxy configuration.
I had previously tampered with Nginx reverse proxy configs when working with my MiniPlace project. This time, it wasn’t all too different. I did a bit more research on the proxy params, which was good to learn. Also, this time I decided to create some locations to mount to store logs. I did think it was convenient that I could directly reference the service name in the Nginx config (this being a direct feature of Docker Compose).
Last prep step was setting up the Docker Compose file. This was actually something I was less familiar with. I typically worked just with Docker images independently. Fortunately it was very simple and logical, so it did not take long to set up.
The Raspberry Pi Stage
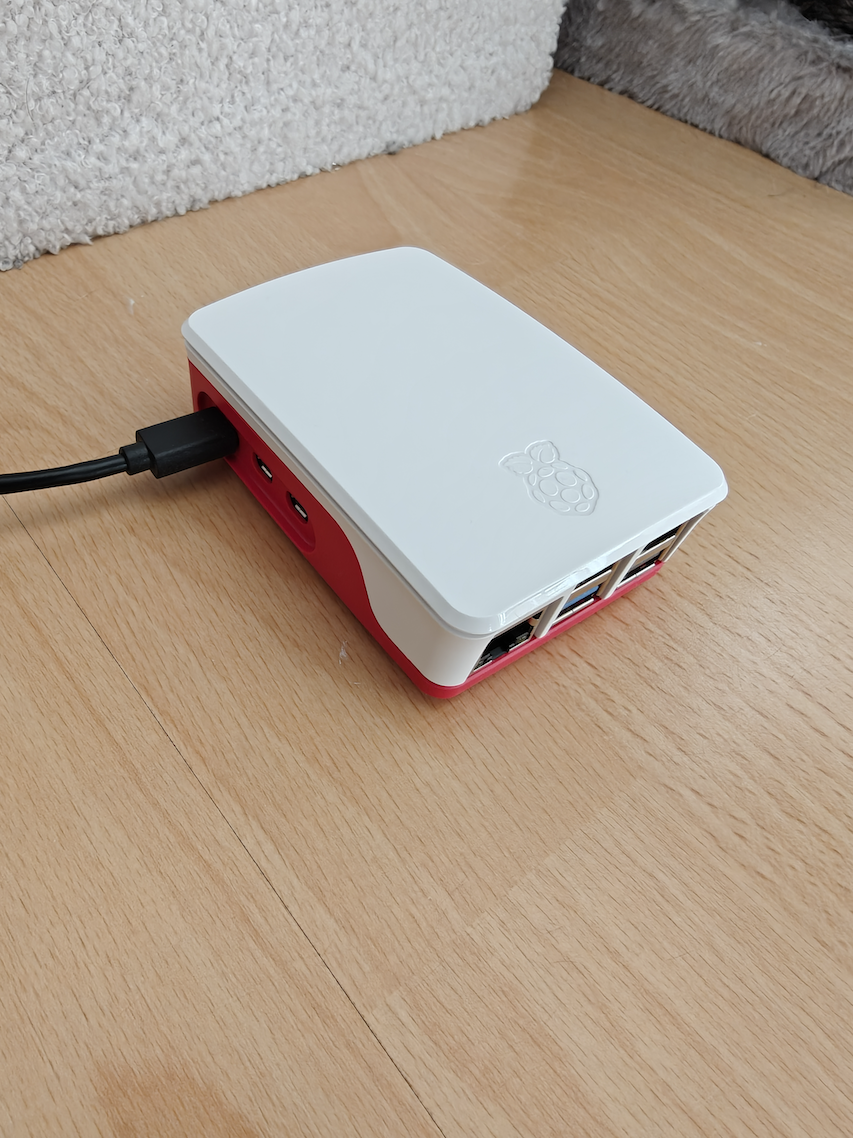
After waiting just a few days for my Raspberry Pi to deliver, I went ahead to get things working. I used the Raspberry Pi Imager to image the microSD card for the Pi. I opted to use Ubuntu Server OS as this felt most relevant to server setup. I also setup the SSH rules with an ED25519 key that should only authorize my computer.
And there we go. I plugged it in and SSH’d in. (Ran into a small hiccup where I forgot to specify which key to use)
First Login: 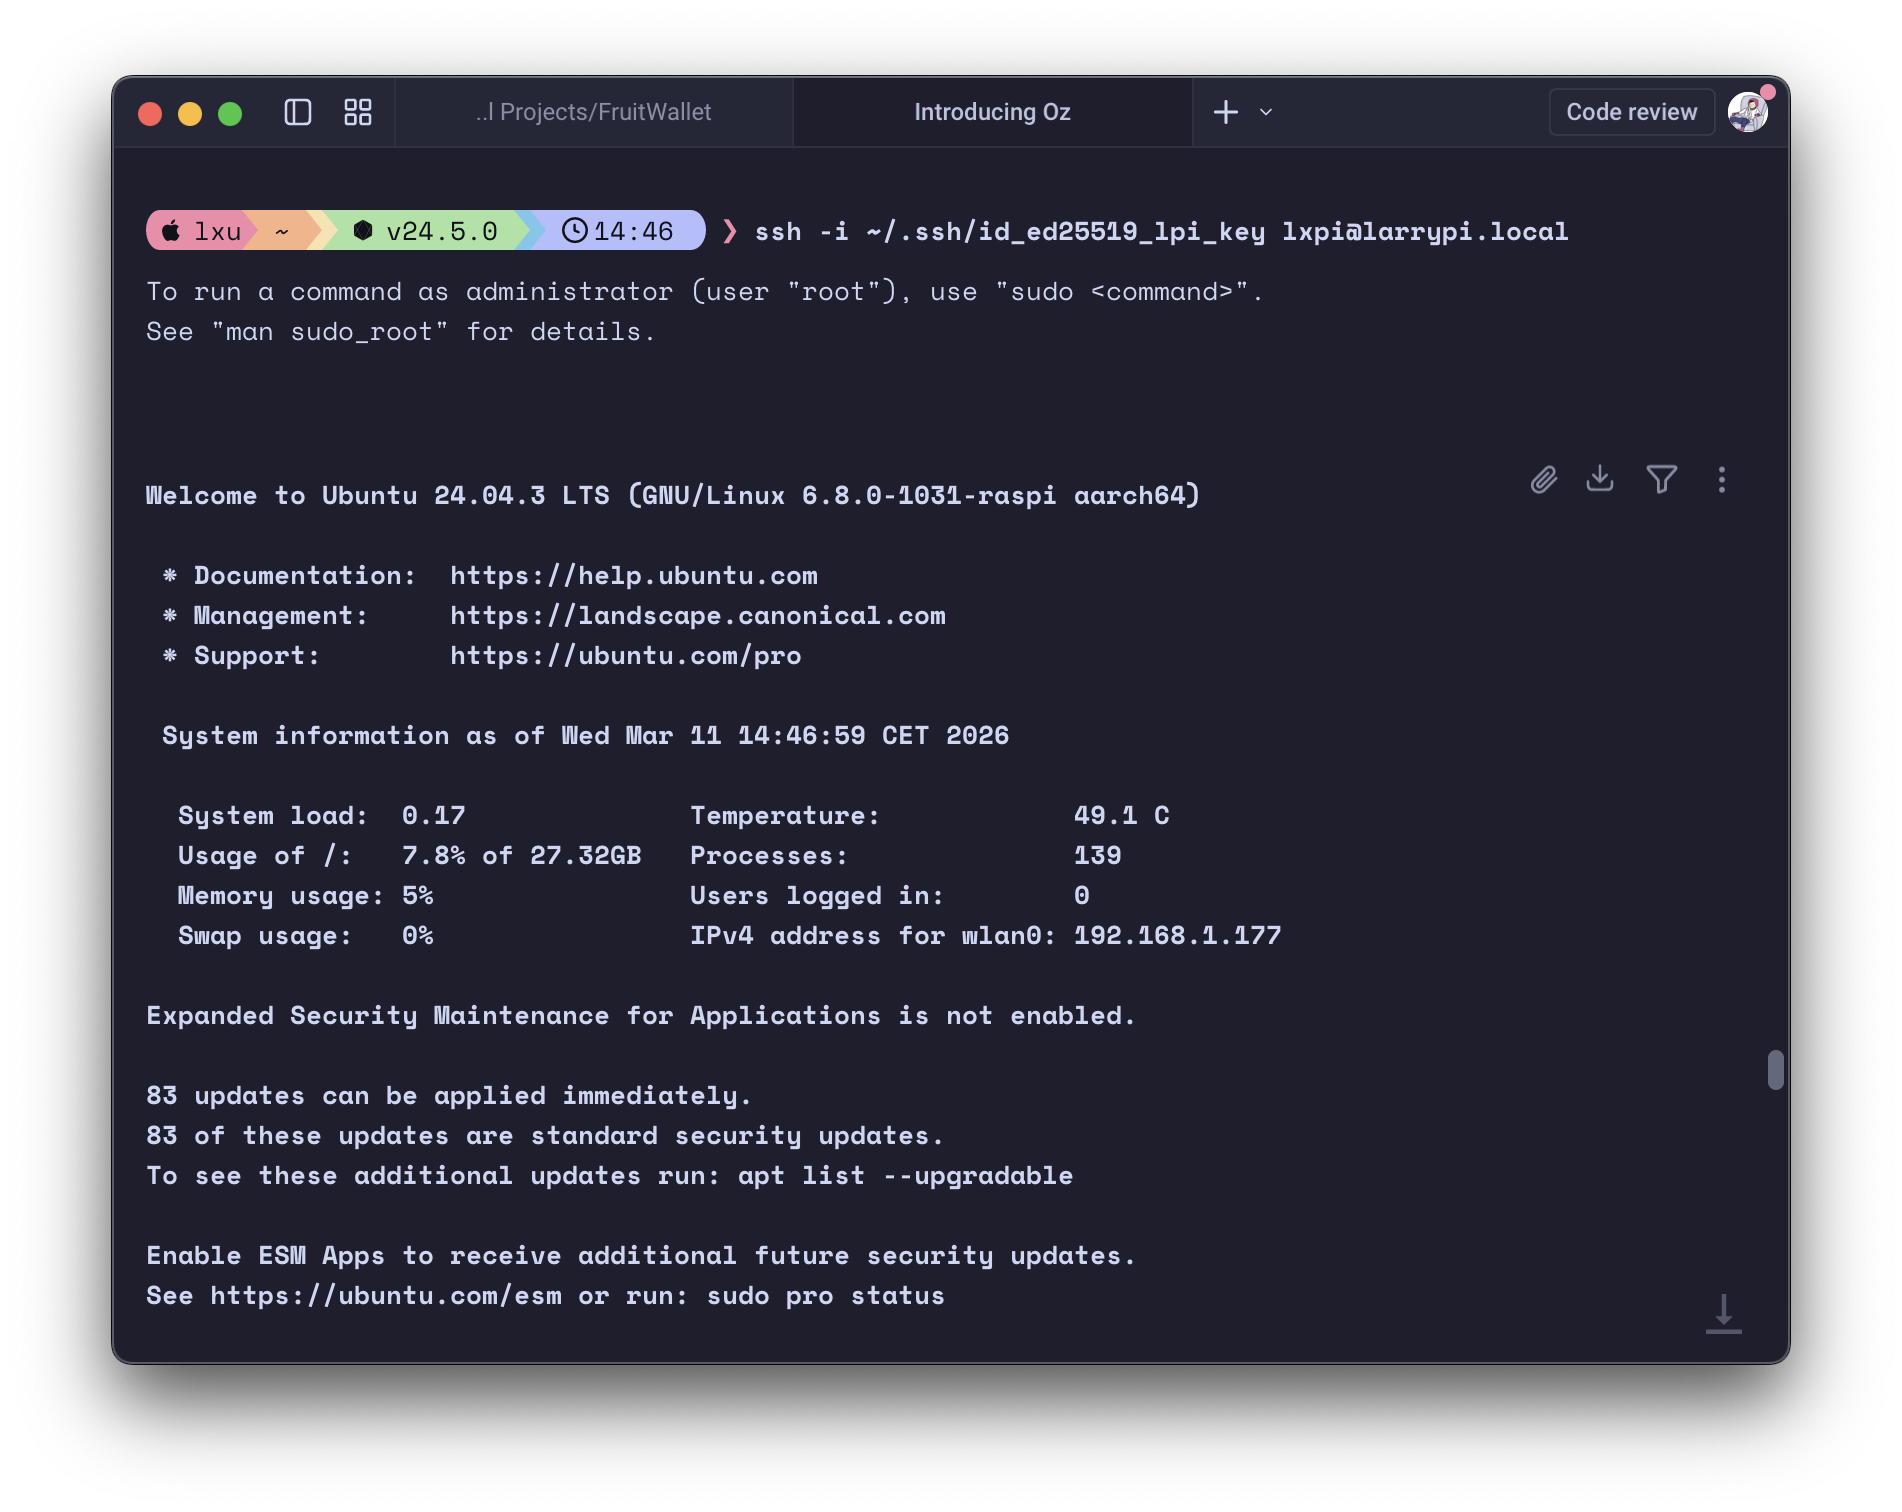
Seeing it work at all was a relief.
Running
sudo apt update & upgrade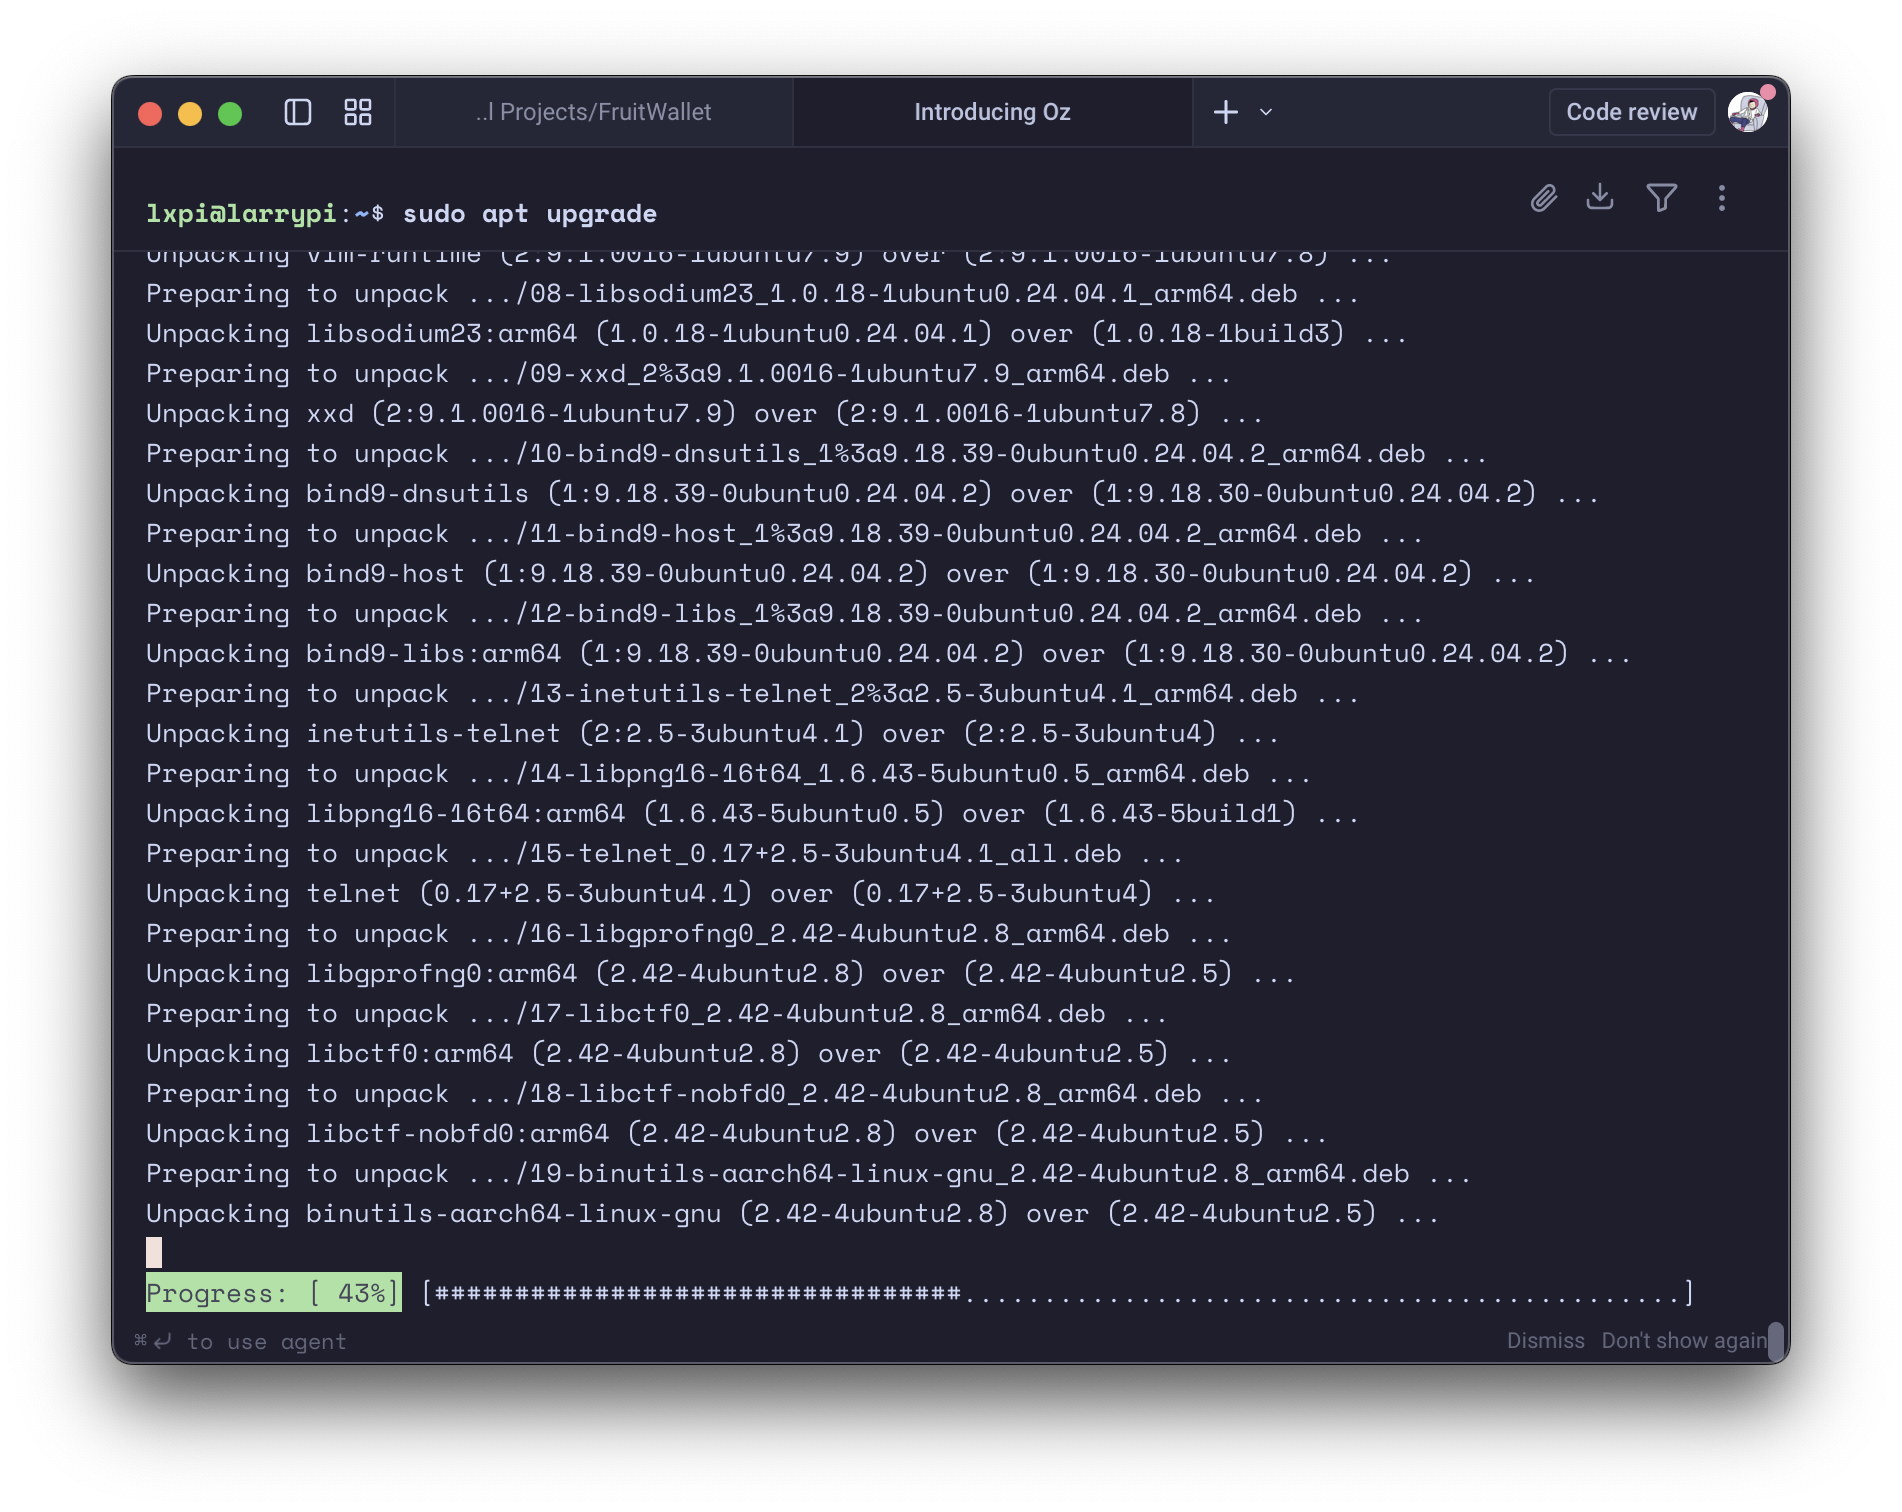
Installing Docker: 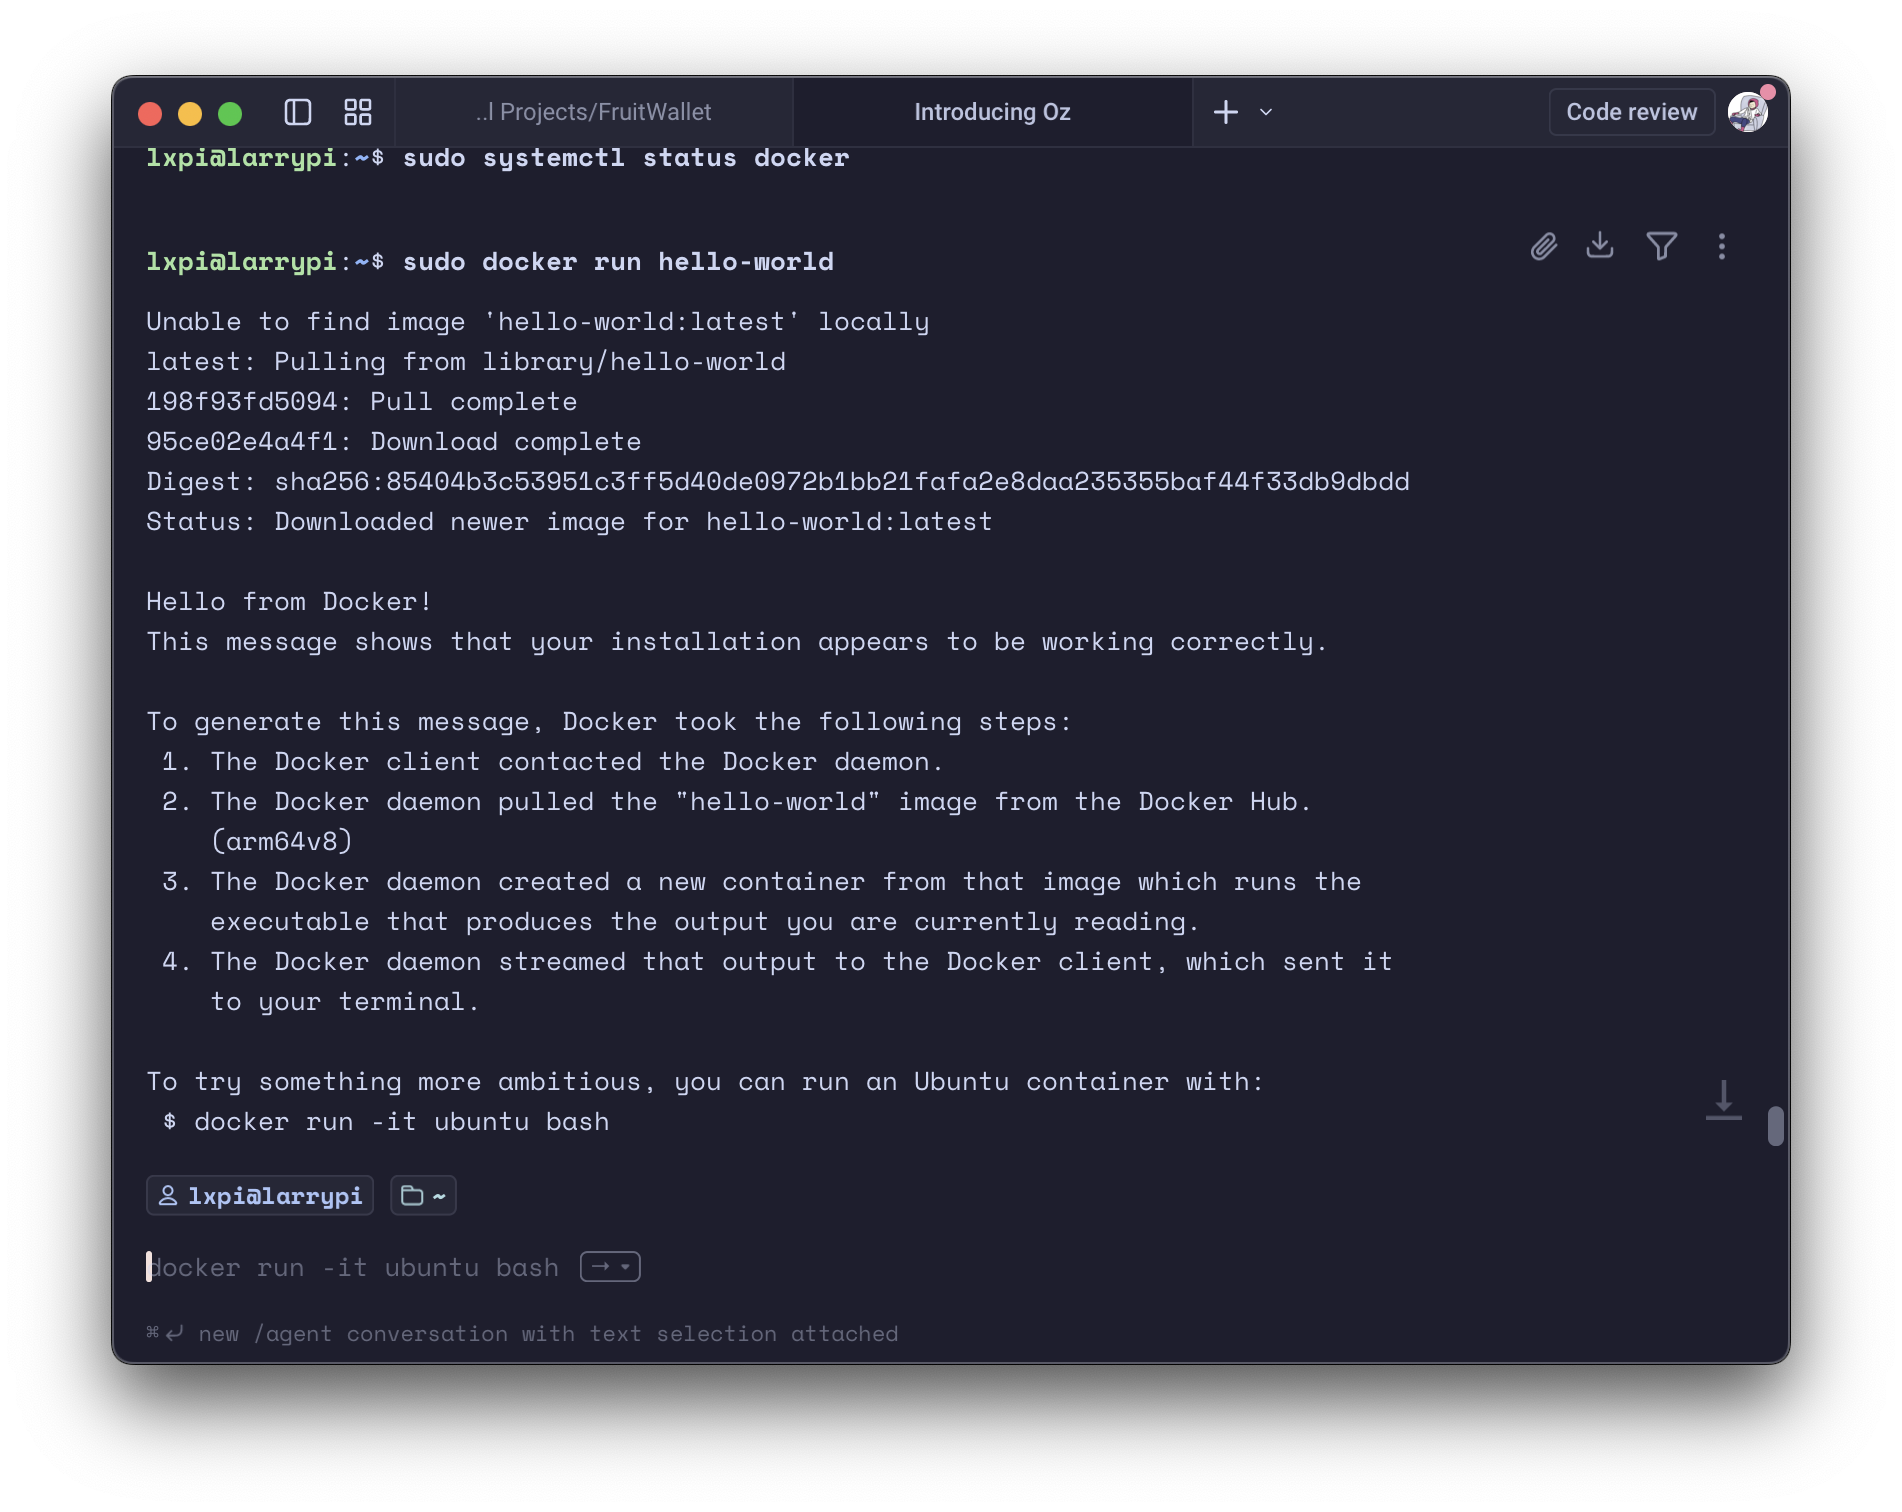
After installation, I SCP’d my nginx config files and docker-compose.yaml. Now everything was ready!
I ran
sudo docker compose up -dand watched Docker work its magic. I accessed my Router’s admin page and retrieved the Raspberry Pi’s local IP. In the future, I plan to use DHCP reservation to pin that IP to avoid having to do this in the future on reboots.
Accessing the server: 
Checking the logs: 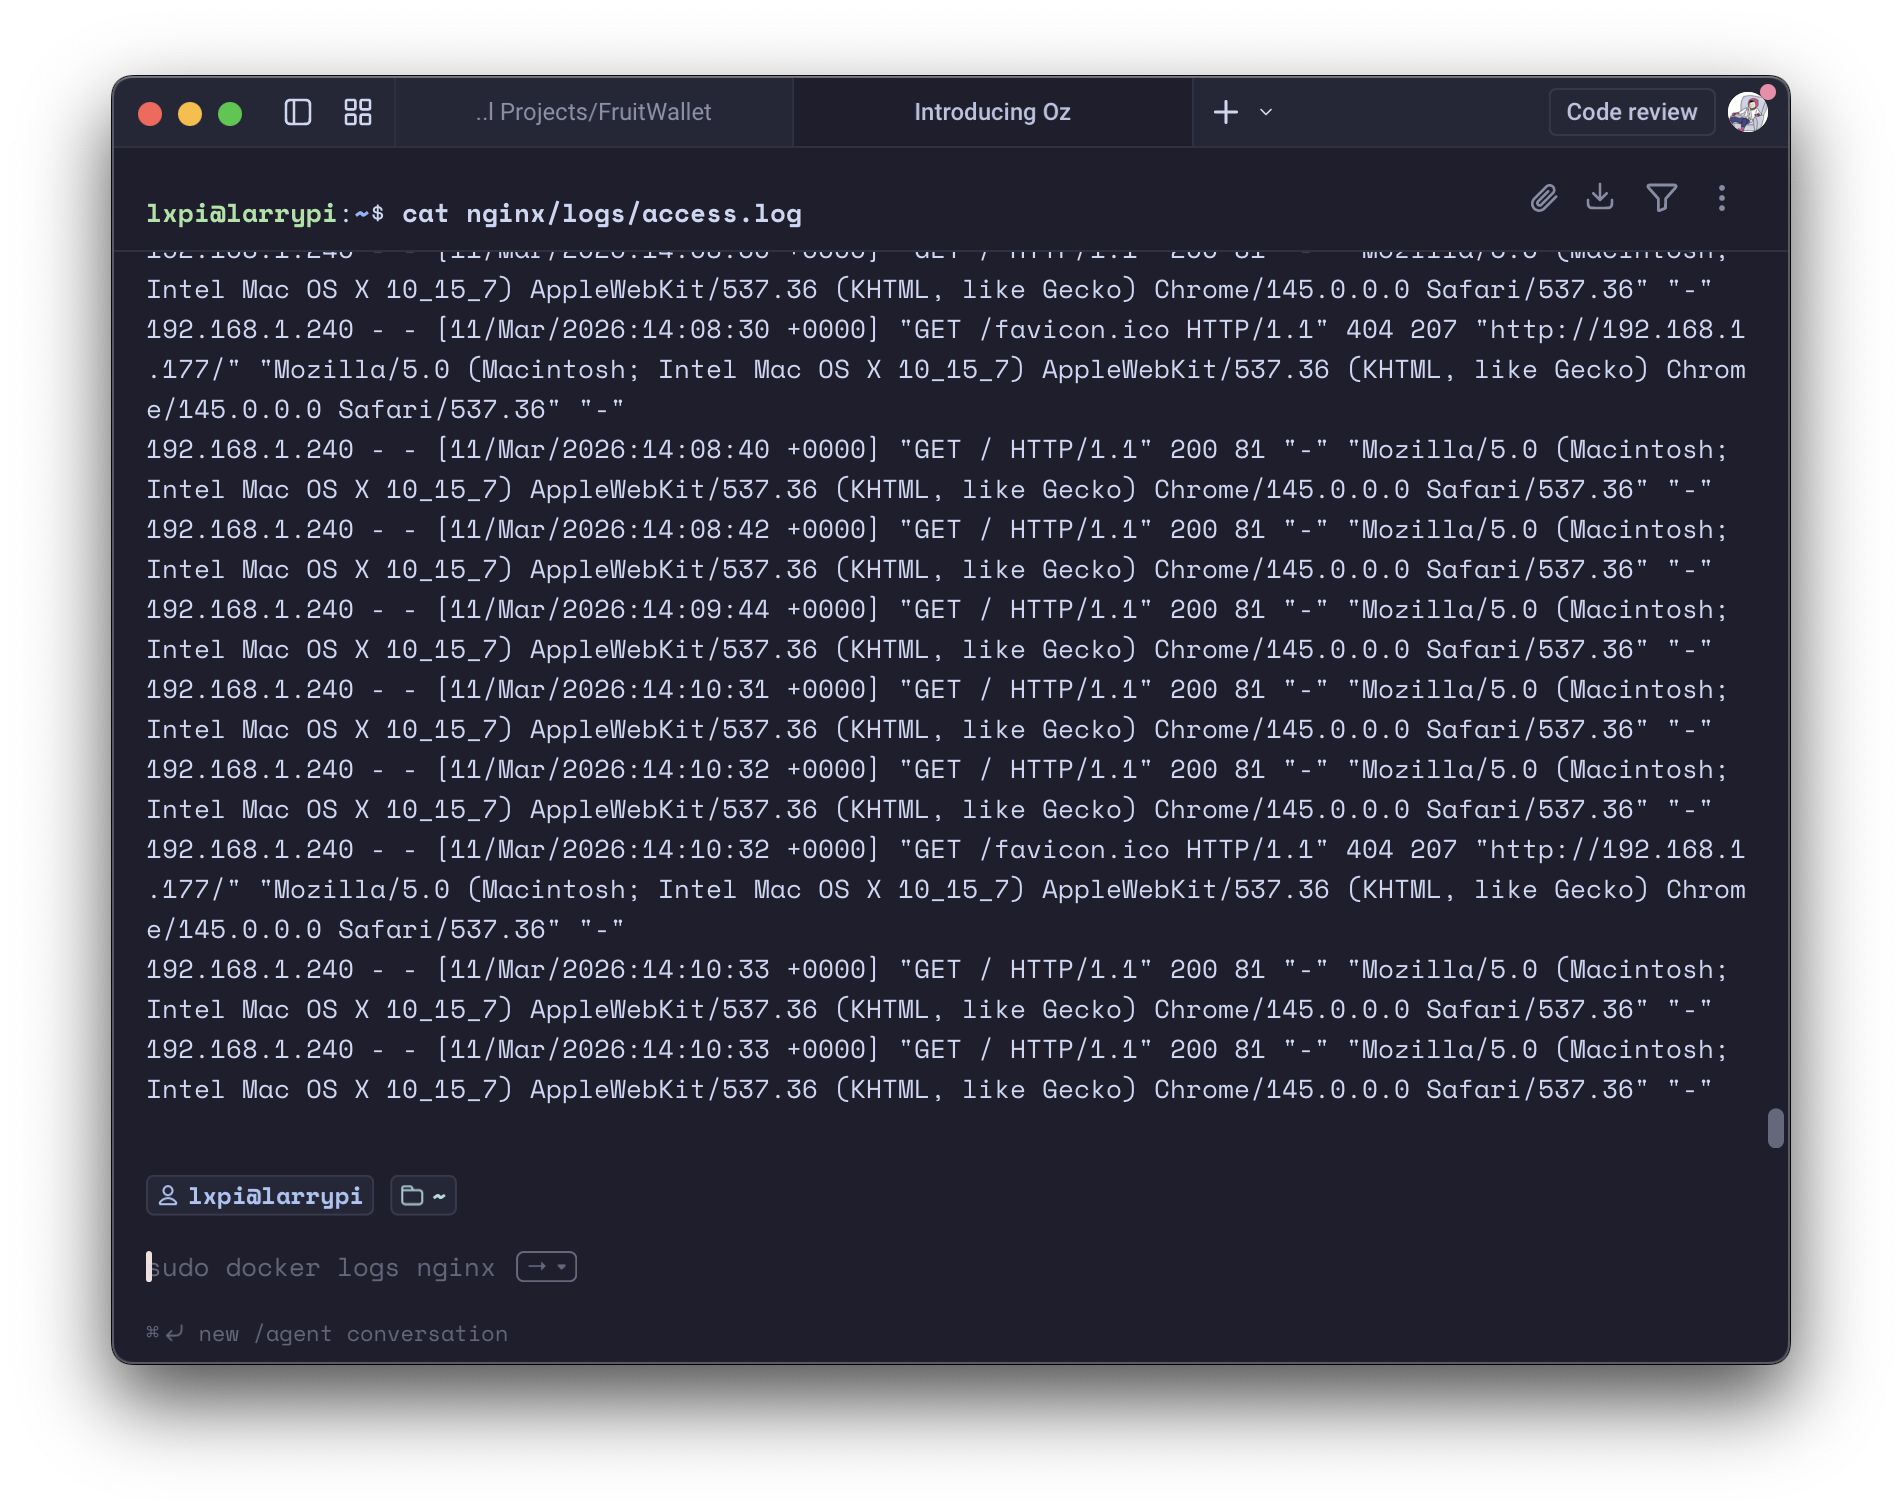
Docker Compose Process: 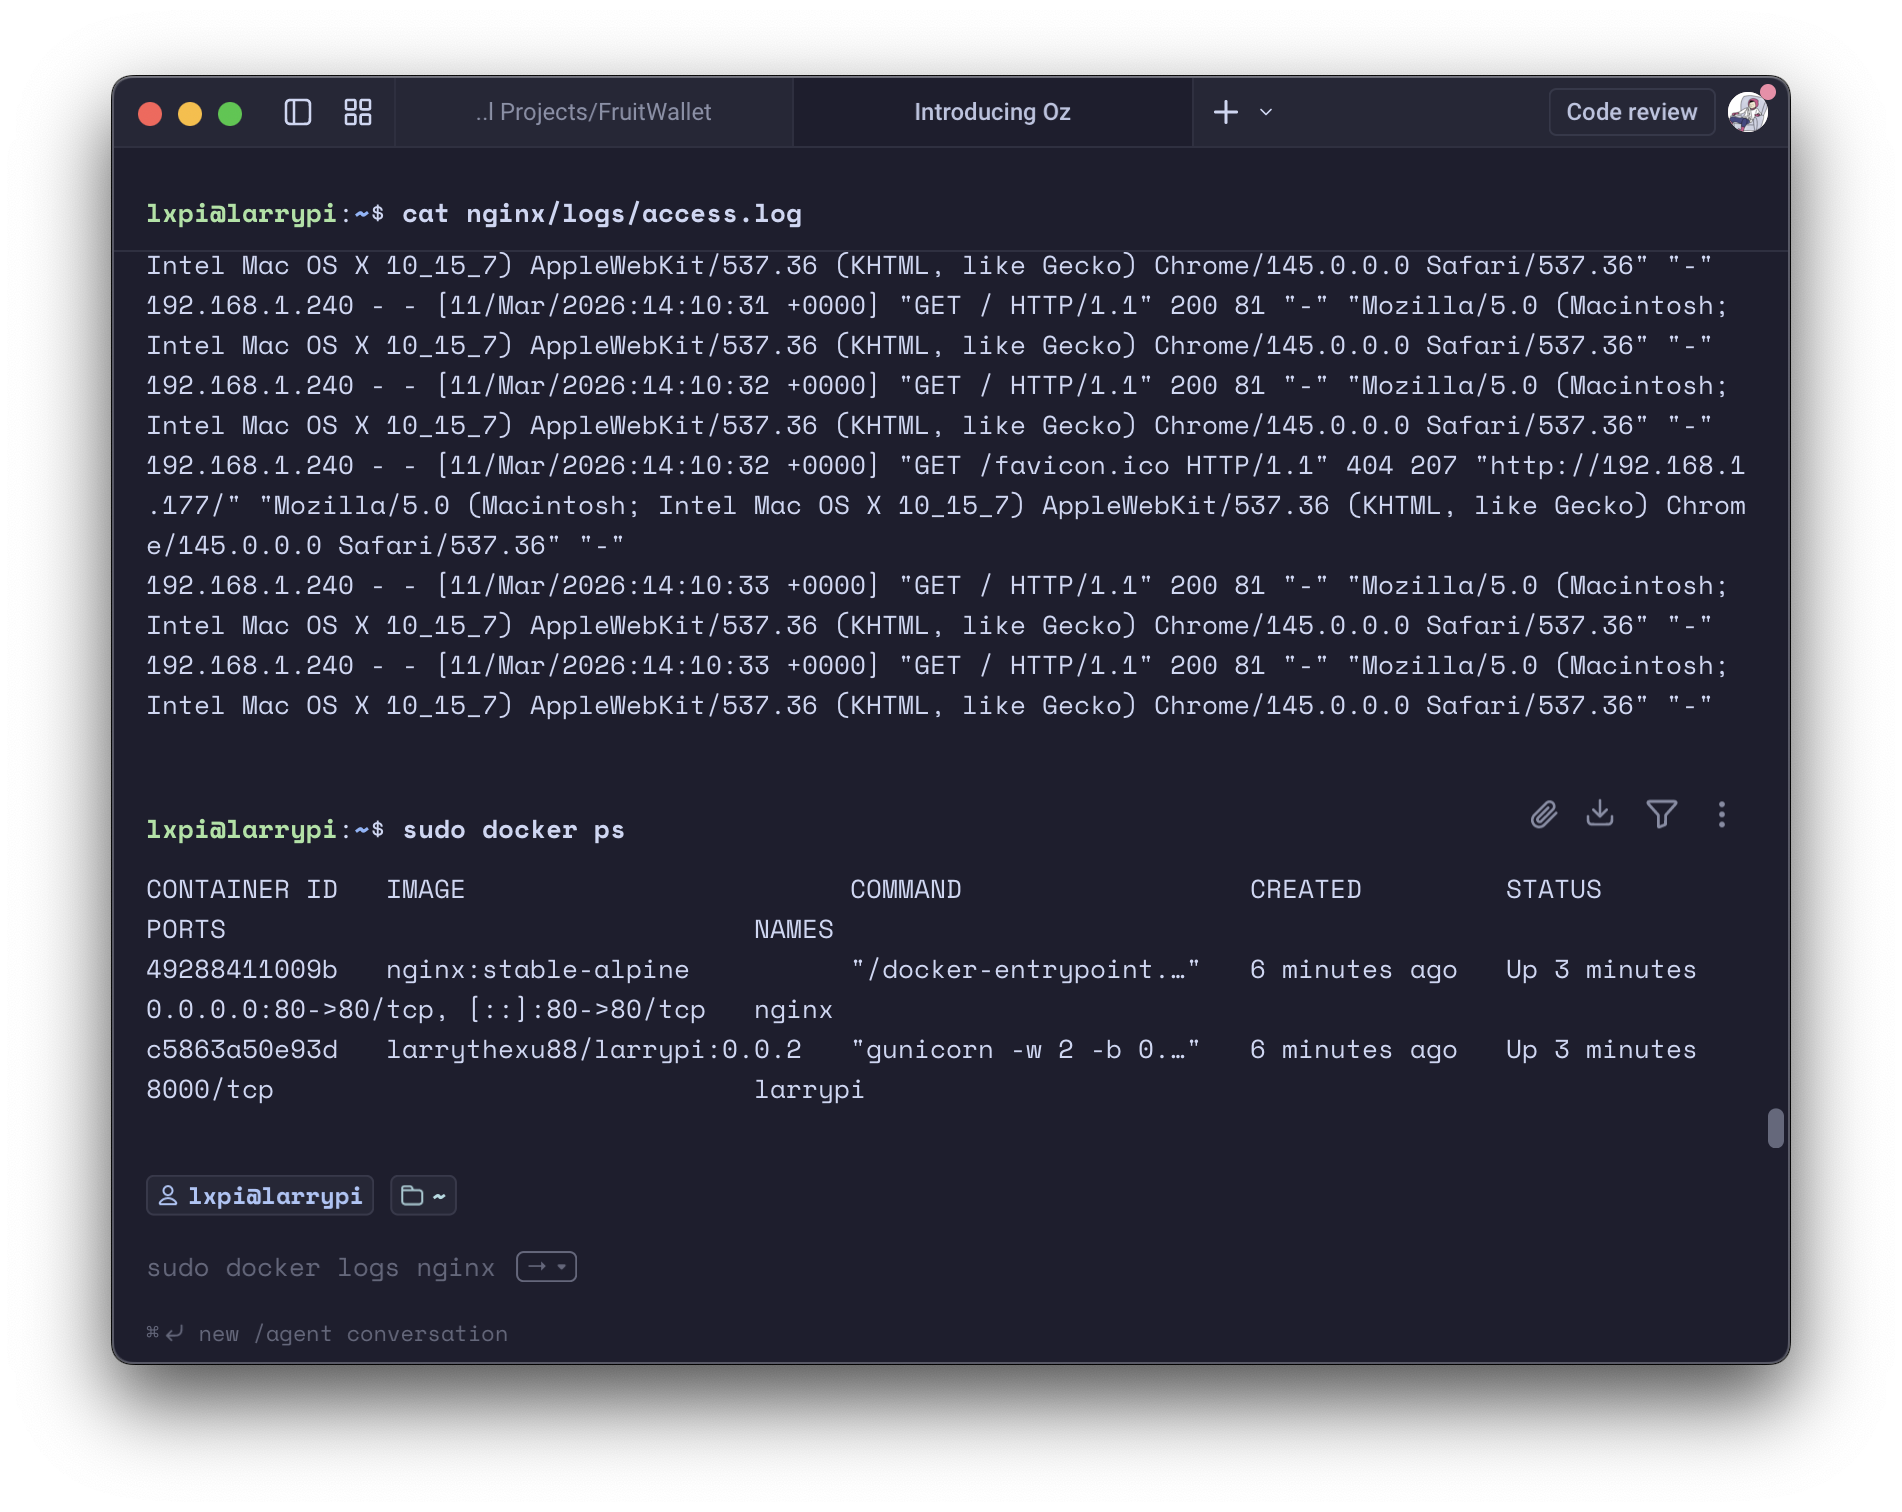
And it worked as planned! This was an interesting experience, and I absolutely plan to explore further into the world of the Raspberry Pi and Linux servers.
Next Steps
Some future additions to the server could include adding a filebrowser service, or introducing PiHole for blocking ads.
At the least, I want to use my Raspberry Pi to get more familiar with Linux, its directory system, architecture, and much more!